I also thought it was fitting to write another post involving rice with the success of good old Baked Brown Rice. My friend Heather was kind enough to try it out and post the process on her blog.
This is a pretty basic recipe for chicken risotto with some vegetables. An excellent go-to dish.
You can always double this recipe, but here goes:
Easy Chicken Risotto
2 T. butter
2 T. olive oil
1/2 cup onion (optional)
1 cup of arborio rice
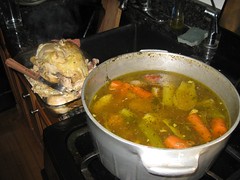
2 cups homemade or prepared chicken stock
1/2 c. parmesan cheese
salt and pepper to taste
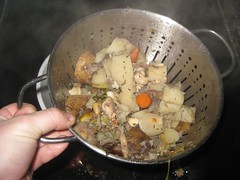
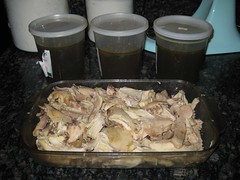
1 cup cooked chicken, cut into cubes or chunks
First, melt the butter and heat the oil in a large dutch oven or saucepan. Add the onions and saute them until translucent. Add your rice and stir it into the oils. Let it brown for 1-2 minutes, until it is fragrant.
While you are browning your rice, heat up your chicken stock in a separate pan on the stove.
Add the stock to the rice mixture a ladle full at a time, waiting for the liquid to absorb before adding more. Once you have used all stock and all liquid is absorbed, add the parmesan cheese (my mom always used Velveeta--whatever suits your fancy would work just fine).
Next, add your chicken and stir to combine. Finally, add any (pre-cooked) vegetables that you desire. In fact, you don't even have to add meat!
Now, stir to combine and ENJOY!!
Here are some photos of the process:

 |
| Adding chicken stock to the browned rice |
 |
| Preparing the chicken |
 |
| Adding the chix! |
 |
| Adding frozen veggies? Too easy! |
 |
| Parmesan!! So delectable! |
 |
| Finished product! Indeed, folks, risotto is one of the simpler, easier meals to make, with all sorts of delicious options! You could be more distinctive about your cheese choice--adding gruyere or some special type of cheddar. You could add mushrooms instead of veggies, or you could use wine to brown the rice with. So many delicious options! I urge all of you to try out a risotto. And, don't forget--if at first you don't succeed, try again! Sometimes different rice requires different amounts of liquid. Stick with it and you will impress all your friends. At least that's what I imagine happening at my imaginary dinner party tonight. Would you like to join me? |